










How to Test Waterproof Labels on Your Actual Packaging
Turn “waterproof” into a clear approval test covering the container, label construction, exposure and acceptance criteria.
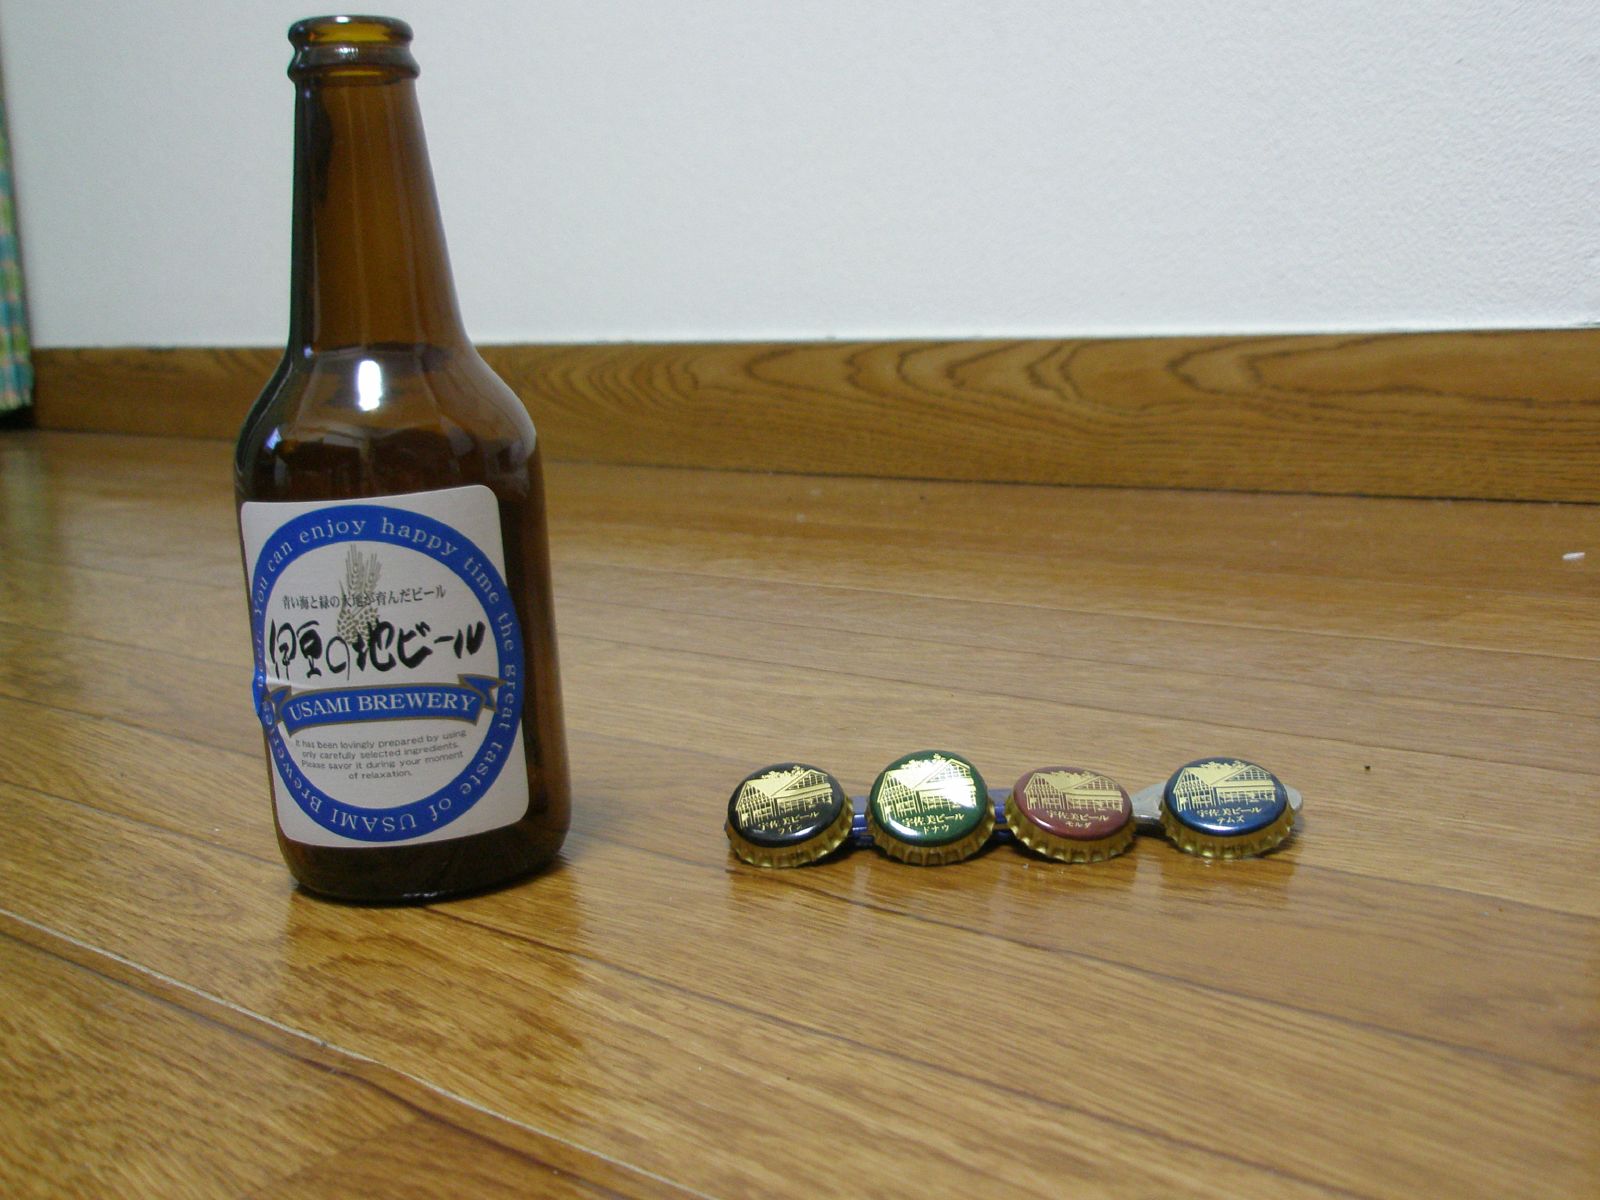
Test a waterproof label as a complete construction on the actual package: face material, adhesive, ink and protective finish. Define the exposure it must survive and what counts as passing before comparing samples. A label that looks fine after a splash has not demonstrated suitability for an ice bucket, repeated washing or long-term outdoor use.
The workflow below is a practical sample-screening plan. It is not a certification method or a claim that LabelsDone products have passed a particular standard. If your application requires formal test results, agree the relevant method, conditions and evidence with the supplier or a qualified laboratory.
Translate “waterproof” into the exposure you expect
Avery distinguishes water-resistant labels intended for lighter moisture from waterproof products designed for prolonged water exposure. For purchasing, the useful next step is to describe your own conditions instead of relying on the word alone.
| Real situation | What to reproduce | What to observe |
|---|---|---|
| Chilled beverage | The intended cooling and warming cycle, including condensation | Edge lift, bubbles and readability when wet |
| Bottle in an ice bucket | The expected water contact, temperature and duration | Adhesion, label appearance and print condition |
| Bathroom product | Repeated wetting, drying and ordinary handling | Smearing, abrasion and changes around the label edge |
| Package wiped during use | The specified liquid and wiping action | Ink transfer, surface damage and lifting |
Include unusual events only when they are credible for the product. A more severe test is not automatically more informative if it introduces an unrelated failure. Keep separate questions—water, detergent, oil, heat and sunlight—separate enough to understand the result.
Prepare a test record before opening the samples
Give each candidate a code. Record its material and adhesive identifier, printing process, finish, artwork version and supplier batch information. Photograph the unused label and the container. Keep an unexposed reference sample so that a later color or surface change has a meaningful comparison.
Use production-representative containers, including their normal surface treatment and shape. Agree the number of repeats for the screening exercise; one attractive sample is weak evidence of consistency. Write the acceptance criteria before testing so the preferred design does not receive a more generous interpretation afterward.
- Which text and codes must remain readable?
- What edge condition is acceptable, and how will it be recorded?
- Which visual changes would make the package unsuitable for sale?
- Will the label be judged while wet, after drying, or both?
- Who decides whether an uncertain result requires further testing?
Apply under the conditions that production will use
Record the container temperature, room conditions, surface preparation, application method and time between labeling and exposure. Follow the supplier’s instructions for the proposed construction. If production labels a cold or damp bottle, do not silently replace that condition with an easier dry application during sample approval.
Avery Dennison distinguishes minimum application temperature from the service temperature range after application. Its wine-label guidance also treats moisture during labeling as a separate adhesive-selection problem. These distinctions explain why a label may survive cold storage after correct application yet fail when first applied under different conditions.
Allow the supplier-recommended conditioning period, and record it. If the operational schedule cannot accommodate that period, raise the conflict before ordering. A successful test using a preparation sequence the factory will never follow is not a useful approval.
Expose, inspect and document in a fixed sequence
- Record the baseline. Inspect alignment, bubbles, edges and print before exposure. Mark any existing defects.
- Run the agreed exposure. Record actual temperature, duration, liquid and handling rather than simply writing “water test.”
- Check while wet. Observe edges, surface appearance and legibility. If wiping is relevant, use the agreed method consistently.
- Check after recovery. Dry or condition samples according to the plan and inspect again.
- Compare repeats and controls. Photograph results from the same angles and note whether the outcome was consistent.
Keep the test sequence identical across candidates. If one sample receives extra drying time or gentler handling, record the difference and repeat the comparison where necessary. Avoid converting a casual trial into an unsupported numeric durability claim.
Use a failure to ask a more precise question
If the print smears while the label remains attached, investigate the printing and protective system. If an intact label lifts, review the adhesive, application and container combination. If appearance changes during moisture exposure, ask the supplier to identify which layer or interaction is involved. These are investigation directions, not diagnoses from a photograph.
Change one factor at a time where practical, then repeat the relevant part of the trial. Keep failed samples: their condition is useful evidence when discussing a revised construction. For a sample that passes, retain the specification and approved reference so a later material change can be recognized.
Common questions
Does a film label automatically pass a waterproof test?
No. The printed and applied construction is what matters. The face material name alone does not establish ink durability or adhesion on your container.
Does waterproof mean dishwasher-safe?
No. Washing may add heat, detergent, repeated cycles and mechanical action. Ask for evidence covering those conditions rather than extending a water result to a different use.
What should accompany a sample request?
Send the container details, application conditions and proposed exposure plan. Start with waterproof labels or freezer labels, then request a construction to evaluate.