


















Sticker & Label Selection Guide
Start from your application, not from a material list. The quick selector proposes a construction from four answers; the six steps below explain the reasoning so you can adjust it.

Four answers, one starting point
Pick what you know. The result is a family-level recommendation that the quotation turns into exact grades, confirmed with samples on your container.
What does the label go on?
What does it meet?
Select everything that applies.
How is it applied?
How should it look?
Sticker or label?
The word matters less than the job. The job decides the construction.

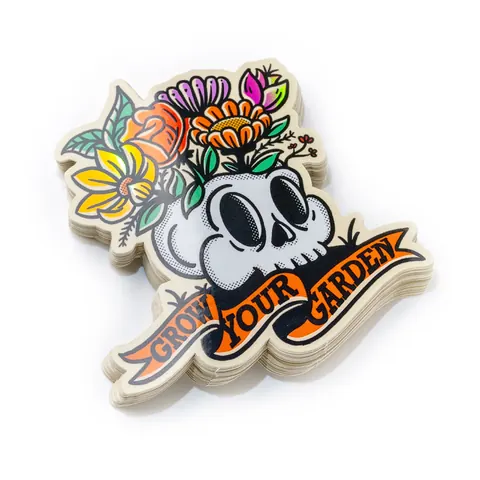
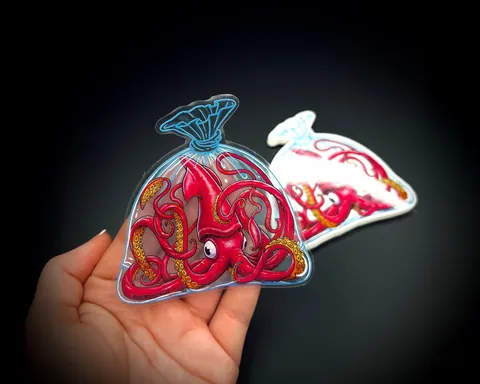
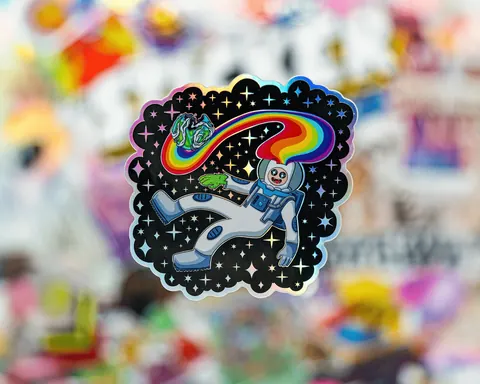
Handed out, packed in, stuck on laptops and parcels. Shape, finish and durability in the hand matter most; vinyl and laminated BOPP, often die cut.
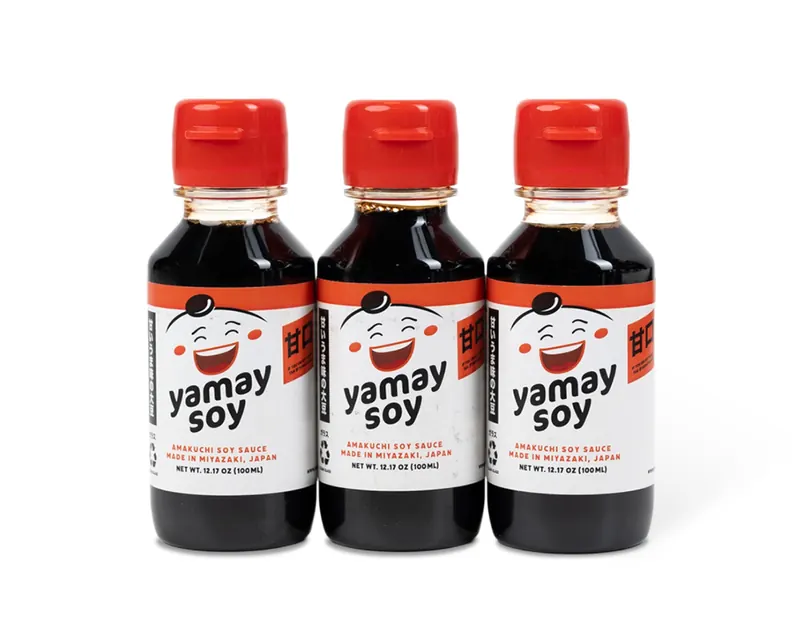
Applied to a product on a line or by hand, carrying brand and mandatory text. Container, conditions and applicator decide the construction.
What is the surface?
The container material and shape narrow the face stock and the adhesive before anything else.
| Surface | What it means for the label | Starting point |
|---|---|---|
| Glass | High-energy, smooth; frosted and coated glass are harder to stick to | Paper or BOPP with permanent adhesive; high-tack on frosted glass |
| PET / coated plastics | Smooth and easy to label; clear PET invites the no-label look | BOPP or clear film with permanent adhesive |
| HDPE / PP / PE | Low surface energy; often squeezable | Conformable film with high-tack adhesive; test on the bottle |
| Paperboard / carton | Absorbent, sometimes rough or kraft | Paper with permanent or high-tack adhesive |
| Metal | Smooth; tins can be warm or oily | Paper or film with permanent adhesive; high-tack on textured coatings |
| Curved or tapered | Stiff labels wrinkle or lift at the edges | Conformable film, label shape designed for the curve |
What does it meet?
Conditions decide the adhesive and whether the print needs lamination.
Chilled, wet or freezer
Water at application and low temperatures can change the bond. Distinguish application conditions from later storage and service.
Specify the temperature, surface moisture and exposure. Select the grade and confirm it with an application trial.
Oils, contents, chemicals
Contact with oils or contents may affect the face stock, printed surface or label edges.
Describe the substance and contact conditions so the complete construction can be selected and tested.
Outdoor, UV, handling
Sunlight, rubbing and weather place different demands on the finished label.
Define the exposure period and acceptance criteria, then confirm the face stock, adhesive and protective finish for that use.
Must come off cleanly
Removal depends on the adhesive, surface, time in use and conditions.
Specify the removal window and acceptable result. Trial the selected removable construction on the actual surface.
How is it applied?
Application sets the format and, for machines, the roll specification.

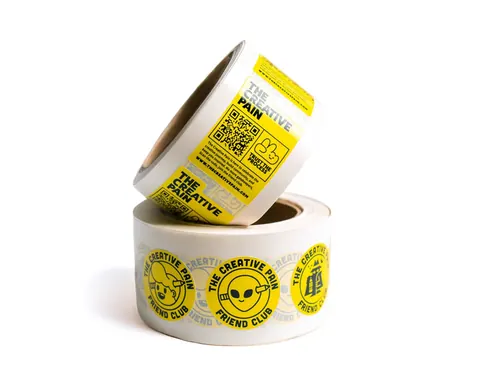
Rolls with core, winding, leading edge and labels per roll set to the applicator. Sample rolls for a line trial.
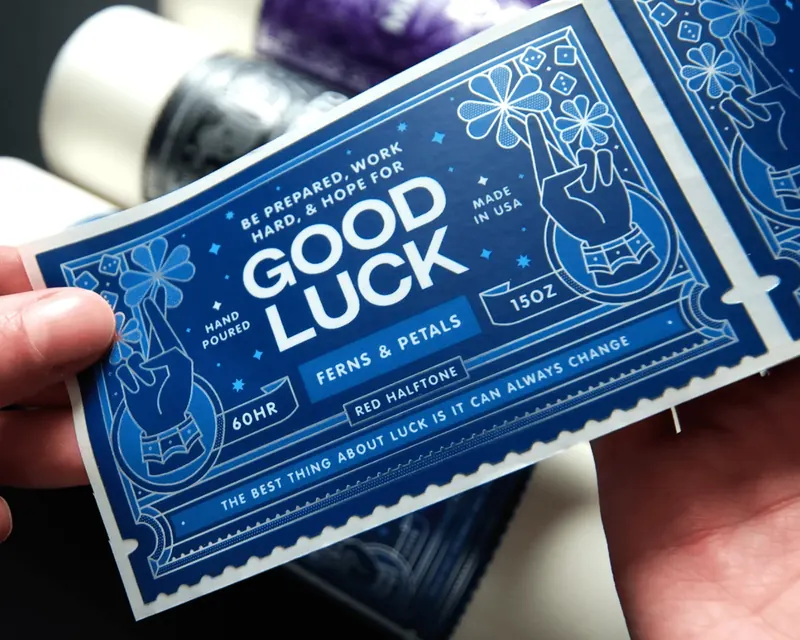
Small rolls or sheets with an easy-peel liner; label shapes sized for the curve of the container.
How should it look and feel?
Choose the appearance alongside the conditions. A texture or metallic effect may change the available finish, cut shape or supply format.
| Look | Face stock | Finish | Watch out for |
|---|---|---|---|
| White, clean print | White BOPP or coated paper | Gloss or matte lamination; varnish on paper | Confirm the selected paper construction for any wet exposure |
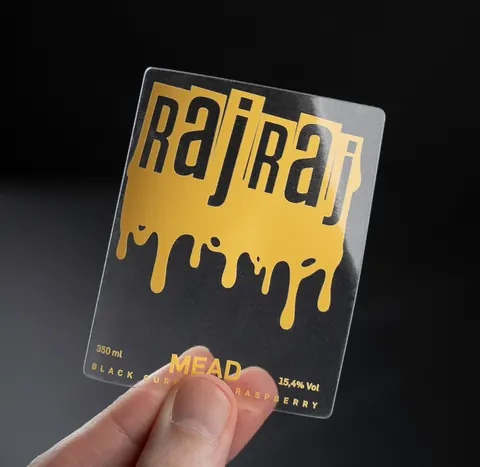
| Clear, no-label look | Clear BOPP or PET | Gloss lamination, white ink under colour | Confirm adhesive and liner with the selected grade; trial appearance on the container |
| Metallic | Metallised BOPP or PET, or foil on paper | Lamination; foil layer | White ink to control opacity |
| Natural, craft | Kraft or uncoated paper | Varnish; foil optional | Colour prints darker; not for wet use |
| Premium, tactile | Textured paper | Varnish, foil, embossing | Small type softens; wet-strength for chilled |
Quantities, designs and timing
The last inputs for a quotation. None has to be final.
What to send us
These details make the first project discussion more useful and identify what still needs to be confirmed.
- The container or surface, and a photo if you have one
- The conditions: chilled, wet, oily, outdoor, handled, removed
- How the labels are applied, and the applicator model if by machine
- Finished size, number of designs and quantity range
- Artwork, even as a draft
- Delivery destination and when you need the labels
Does the graphic stay after a carrier is removed?
Treat a transfer as a separate application route, rather than another roll or sheet material.
Compare the construction, not just the effect.
These product pages show the material, finishing choices and questions to settle for a quotation.