










Map the lit areas
Identify the graphic, opaque areas and spaces through which light should pass.
 Most popularDie Cut StickersCustom shapes cut to your artwork on laminated vinyl. Singles, packs and rolls, from short runs to volume.Explore
 Kiss Cut StickersEasy-peel backing
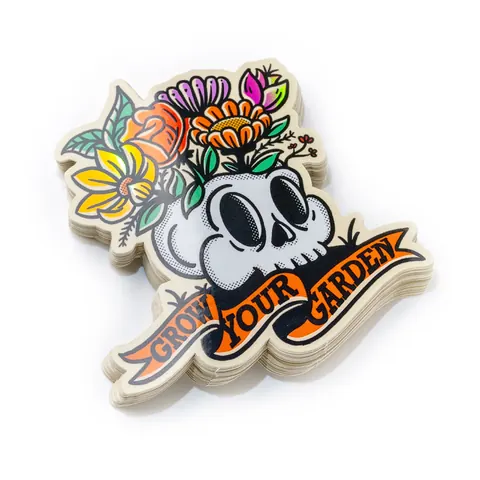 Vinyl StickersDurable laminated film
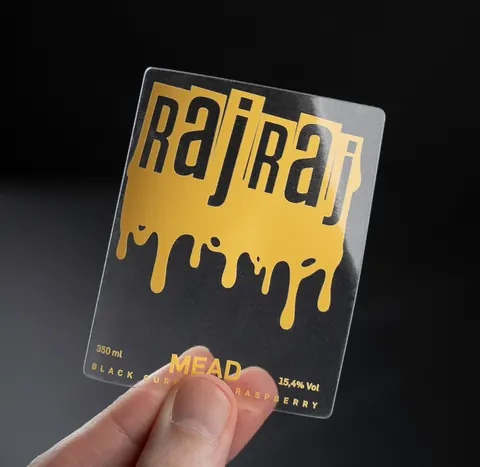
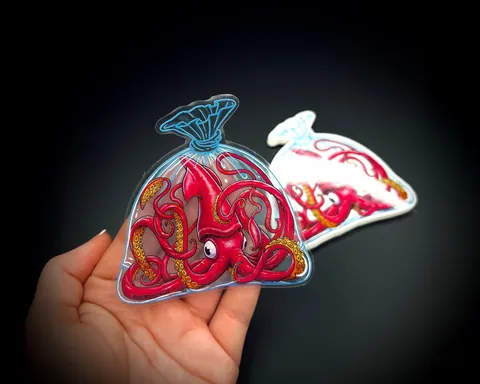 Clear StickersTransparent film, white ink
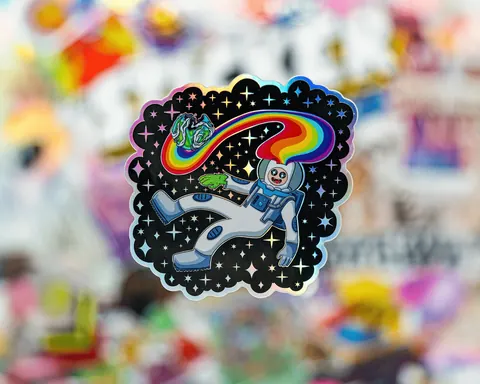 Holographic StickersReflective effect films
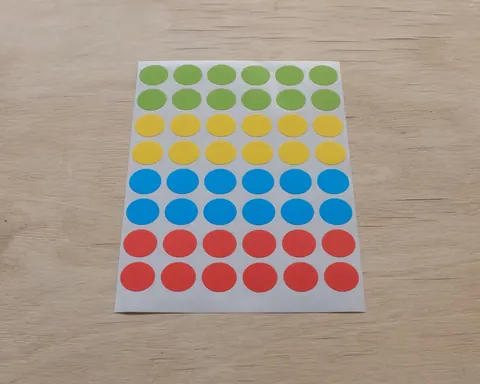
 Sticker SheetsMany designs, one sheetNot sure which sticker?Compare materials, finishes and formats in the selection guide.Selection guide
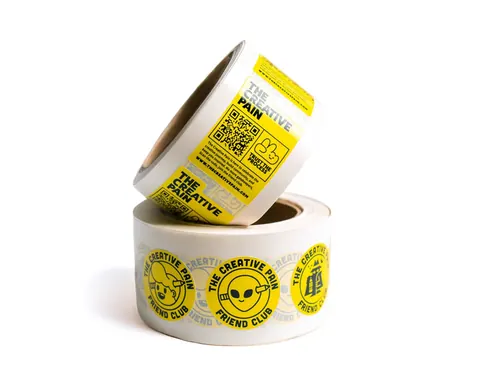 Most requestedRoll LabelsRolls for hand or machine application. Core, unwind and labels per roll set to your line, kept on file for reorders.Explore
 Food & Beverage
 Coffee & Tea
 Wine & Spirits
 Beer & Cider
 Bakery & Confectionery
 Honey, Jams & Preserves
 Sauces & Condiments
 Supplements & Nutrition
 Another industry?Tell us the container and the conditions.Every label is quoted the same way: from the container, the contents and the line. Samples on your packaging confirm it.Request a quote
UV transfer graphics for light-box and illuminated-sign projects, with the artwork reviewed both unlit and against the actual light source.
Your artwork, selected stock and final construction are approved together before production.
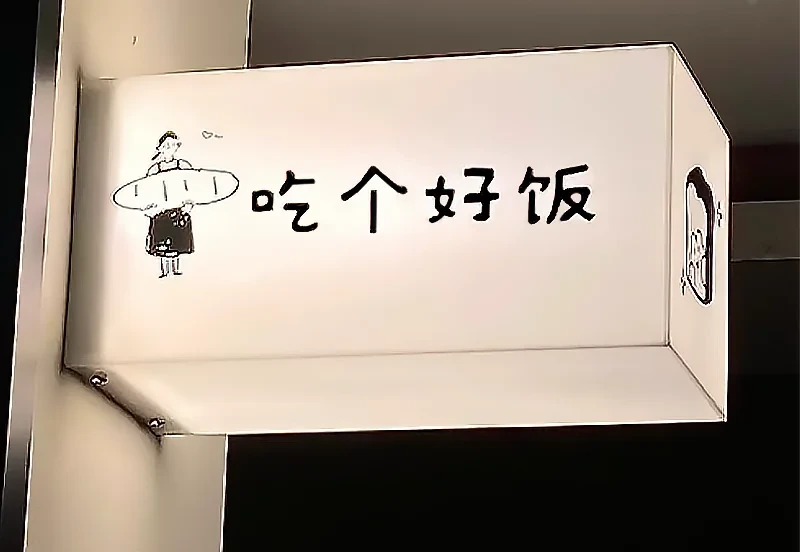
A backlit sign changes how colour, opacity and open areas are seen. Choose the light-box face and graphic variant together, then assess the design under its actual illumination.
Confirm whether the selected variant needs a cold or heat-assisted application, then trial the complete transfer sequence on the actual panel. Review carrier removal, graphic edges and adhesion alongside the lit appearance.
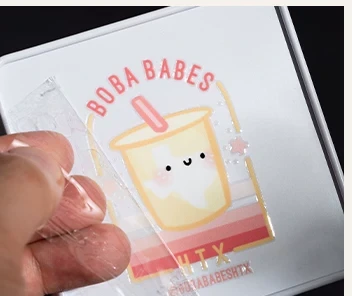

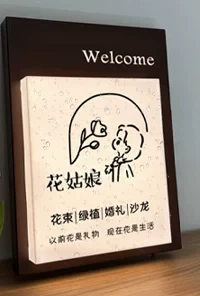
The material, artwork and finish work together. Review these decisions before production.
Identify the graphic, opaque areas and spaces through which light should pass.
Confirm the required equipment and application conditions, then trial the selected graphic on the actual acrylic or coated sign face.
Check colour, contrast and graphic edges in both conditions before approval.
Use these details to prepare your request. The quotation states the exact stock, adhesive, finish and supply format.
Approve a finished sample on your packaging under the application and service conditions it will meet.
Discuss your surface, handling and storage requirements when choosing a construction.
Artwork on the selected illuminated panel.
Custom lettering reviewed under the actual lighting.
Graphic detail on a compatible sign face.
Brand artwork with an agreed opacity layout.
Custom illuminated graphic panels.
Review lighting, handling and the chosen surface.
Send the artwork, dimensions, quantity and packaging surface.
Agree the stock, adhesive, print, finish and supply format in the quotation.
Review appearance and application on the actual packaging.
Produce against the approved specification and confirm the packing details.
Approve the exact graphic and panel under the intended illumination; no light-transmission value is assumed here.
Confirm the method for the selected variant before preparing the panel. The required equipment, conditions and panel compatibility must be agreed with the sample.
Identify the areas that should block or transmit light. The print treatment is agreed with the proof.
Provide the actual operating conditions and request a construction validated for them.
Review both lit and unlit appearance, along with transfer quality and adhesion on the panel.
Share your design, quantity, application and destination. We will confirm the construction and proofing steps for your project.