

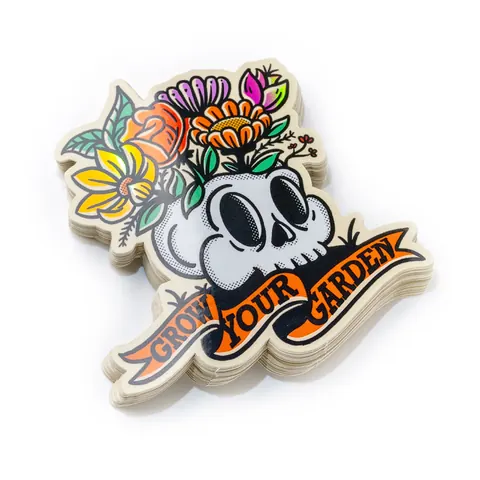
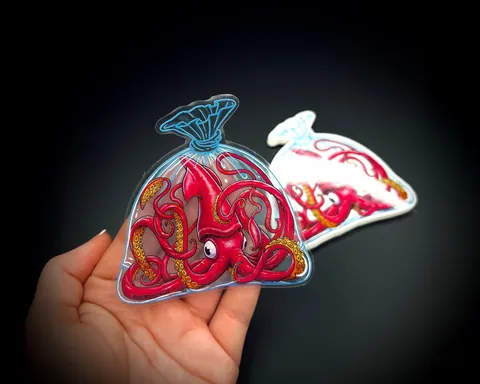
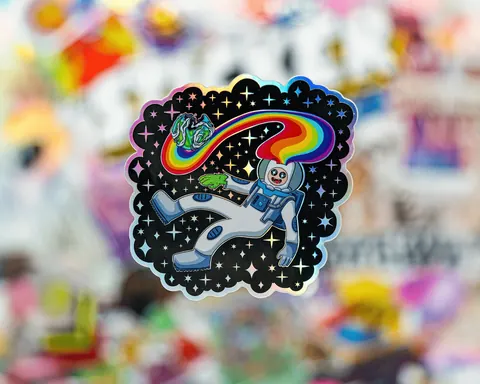

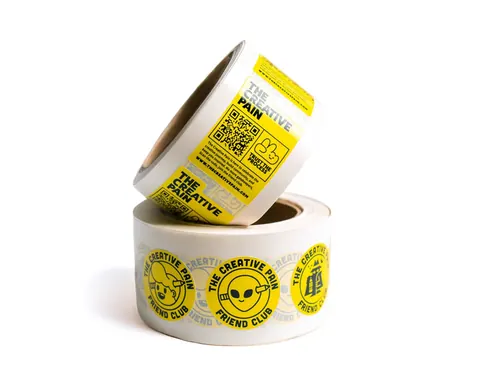
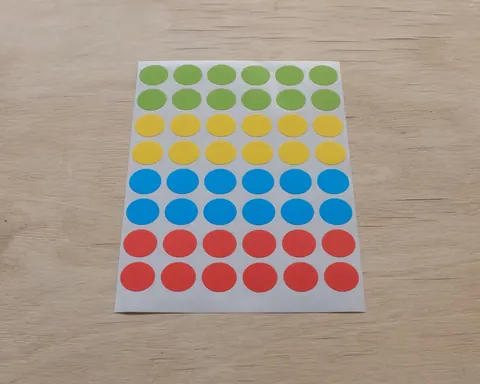

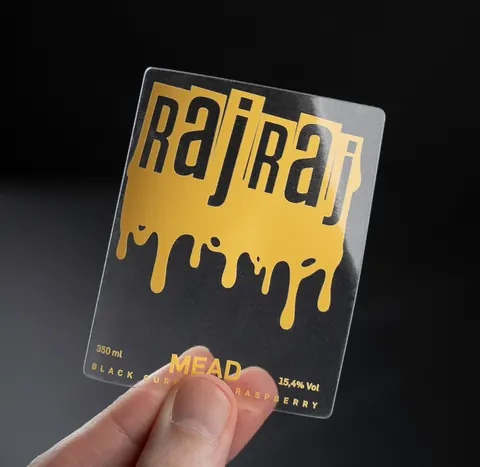
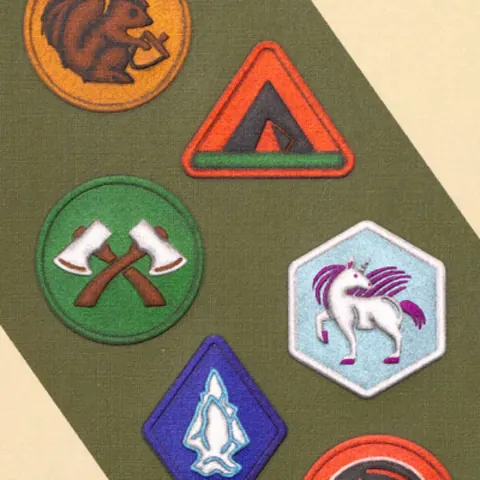















Illustration for guidance; final appearance depends on your specification.
Glitter Stickers
Plan how the textured sparkle effect interacts with your artwork, ink and protective finish.
- Share the preferred film effect and areas where it should remain visible.
- Discuss white ink under colours and any protective layer.
- Assess a physical sample under the lighting and angles that matter.
Availability, samples, materials, quantities, cost and timing are confirmed for your project.
Start with what you know.
Choose any details you know. Leave the rest blank and we can help. Selected options carry into the quote request; add backing dimensions, white-ink areas, use conditions and quantity per design in the product notes.
Face stock
Finish
Adhesive
Cut style
Shape
Finished sticker size
Measure the sticker itself. For sheets or backing, include the overall dimensions in your request notes.
Approximate quantity
Specify the unit and distribution per design in your request.
Application details Optional
These details are added to the notes in your quote request.
Control the effect, then review it in person
A glitter appearance changes with film, light and viewing angle. Keep effect areas clear in the artwork, and specify where a white ink base is desired before reviewing the proof.
| Film type | Describe the desired sparkle and ask which film is available for the project. |
|---|---|
| Effect coverage | Mark the areas where the film effect should show and where printing should cover it. |
| White ink and finish | Describe any white ink base and protective finish; both can alter the final look. |
| Sample | Inspect a representative sample at the intended viewing angles and light levels. |
Final materials, artwork and production details are confirmed for each project.
See the effect from another angle.
These drawings illustrate how a sparkle might shift with the light; they are not photographs or a representation of an actual available film.
Front view selected.
Ask for a physical sample to assess the actual film, print and protective layer in your lighting.
From your idea to a finished sticker.
Send the information you have; there is room to work out the details together.
Share the project
Tell us the surface, sizes, quantities and intended use. Artwork can follow.
Review the quote
Confirm the material, cut, finish and allocation across designs.
Approve the proof
Review artwork, cutlines and layers before production.